
Recording a captivating video can be truly rewarding, but what if that video is marred by bothersome background noise? Don’t fret! We understand how crucial audio quality is in video production.
Fear not, for I am here to guide you through the process of removing background noise from your videos using Capcut, a user-friendly and feature-rich video editing app.
Step 1: Accessing the Video on the Timeline
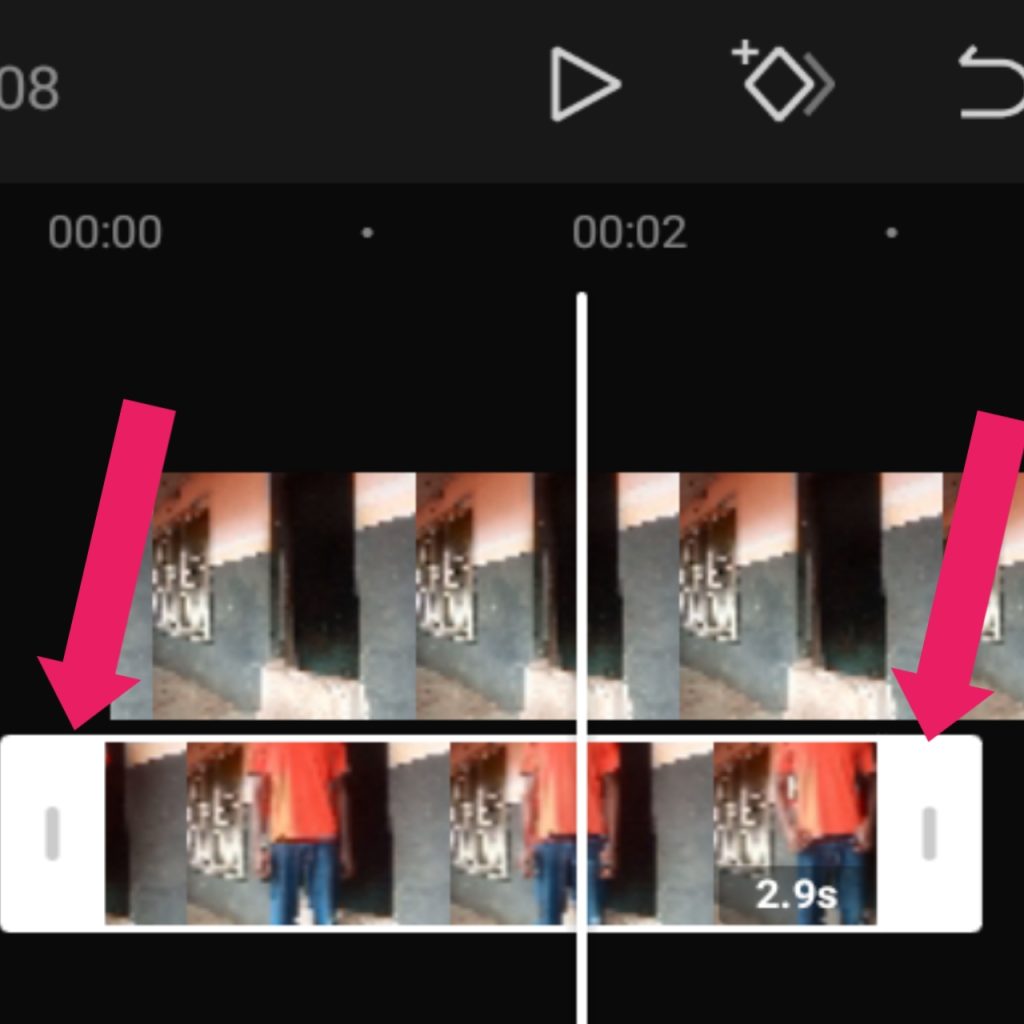
Before we dive into the noise reduction magic, ensure that you have already launched the Capcut application and selected the video you wish to enhance.
Once you’ve located your video on the timeline, tap on it to access the array of editing options available.
Step 2: Discovering the “Reduce Noise” Feature
Now that you have your video ready for editing, let’s move on to the crucial step of removing that distracting background noise.
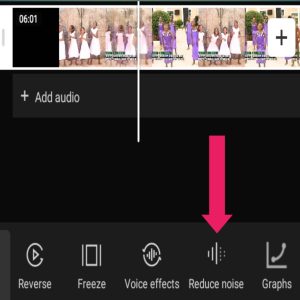
Scroll through the timeline towards the left until you spot the highly sought-after “Reduce Noise” feature. This ingenious tool acts as your secret weapon to eliminate unwanted audio disturbances.
Aldo Read: How to Creatively Make Someone Fly in Capcut!
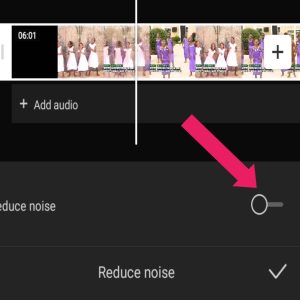
As you find the “Reduce Noise” feature, you’ll see a slider represented by a ball. Click on this ball to slide towards the right to initiate the noise reduction process.
Step 3: Saving the Edited Video
Congratulations, you’ve successfully tamed the intrusive background noise! But before you celebrate, it’s time to save your hard work.
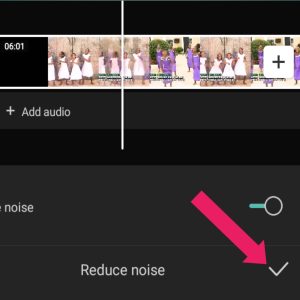
After adjusting the slider to your liking, you’ll need to preserve the edited video. Look for the check button located right below the slider ball, and with one decisive click, confirm your noise reduction settings.
Your video is now safe and sound, ready to be shared without any unwanted distractions.
In Conclusion
Removing background noise from your videos using Capcut is a breeze. With just a few simple steps, you can transform your videos from mediocre to professional-grade, all thanks to the power of noise reduction.
No longer will unwanted audio disturbances detract from your captivating content.
Remember, a well-crafted video with pristine audio can make a significant impact on your audience.
So, go forth and explore the wonders of Capcut, and don’t hesitate to experiment with its other impressive features to elevate your video editing prowess.
As you embark on your video editing journey, know that challenges may arise, but fret not!
Our team is here to lend a helping hand should you encounter any hurdles along the way.
Embrace the art of video editing with confidence and creativity, and may your videos be a testament to your storytelling prowess. Happy editing!
